Flexatile
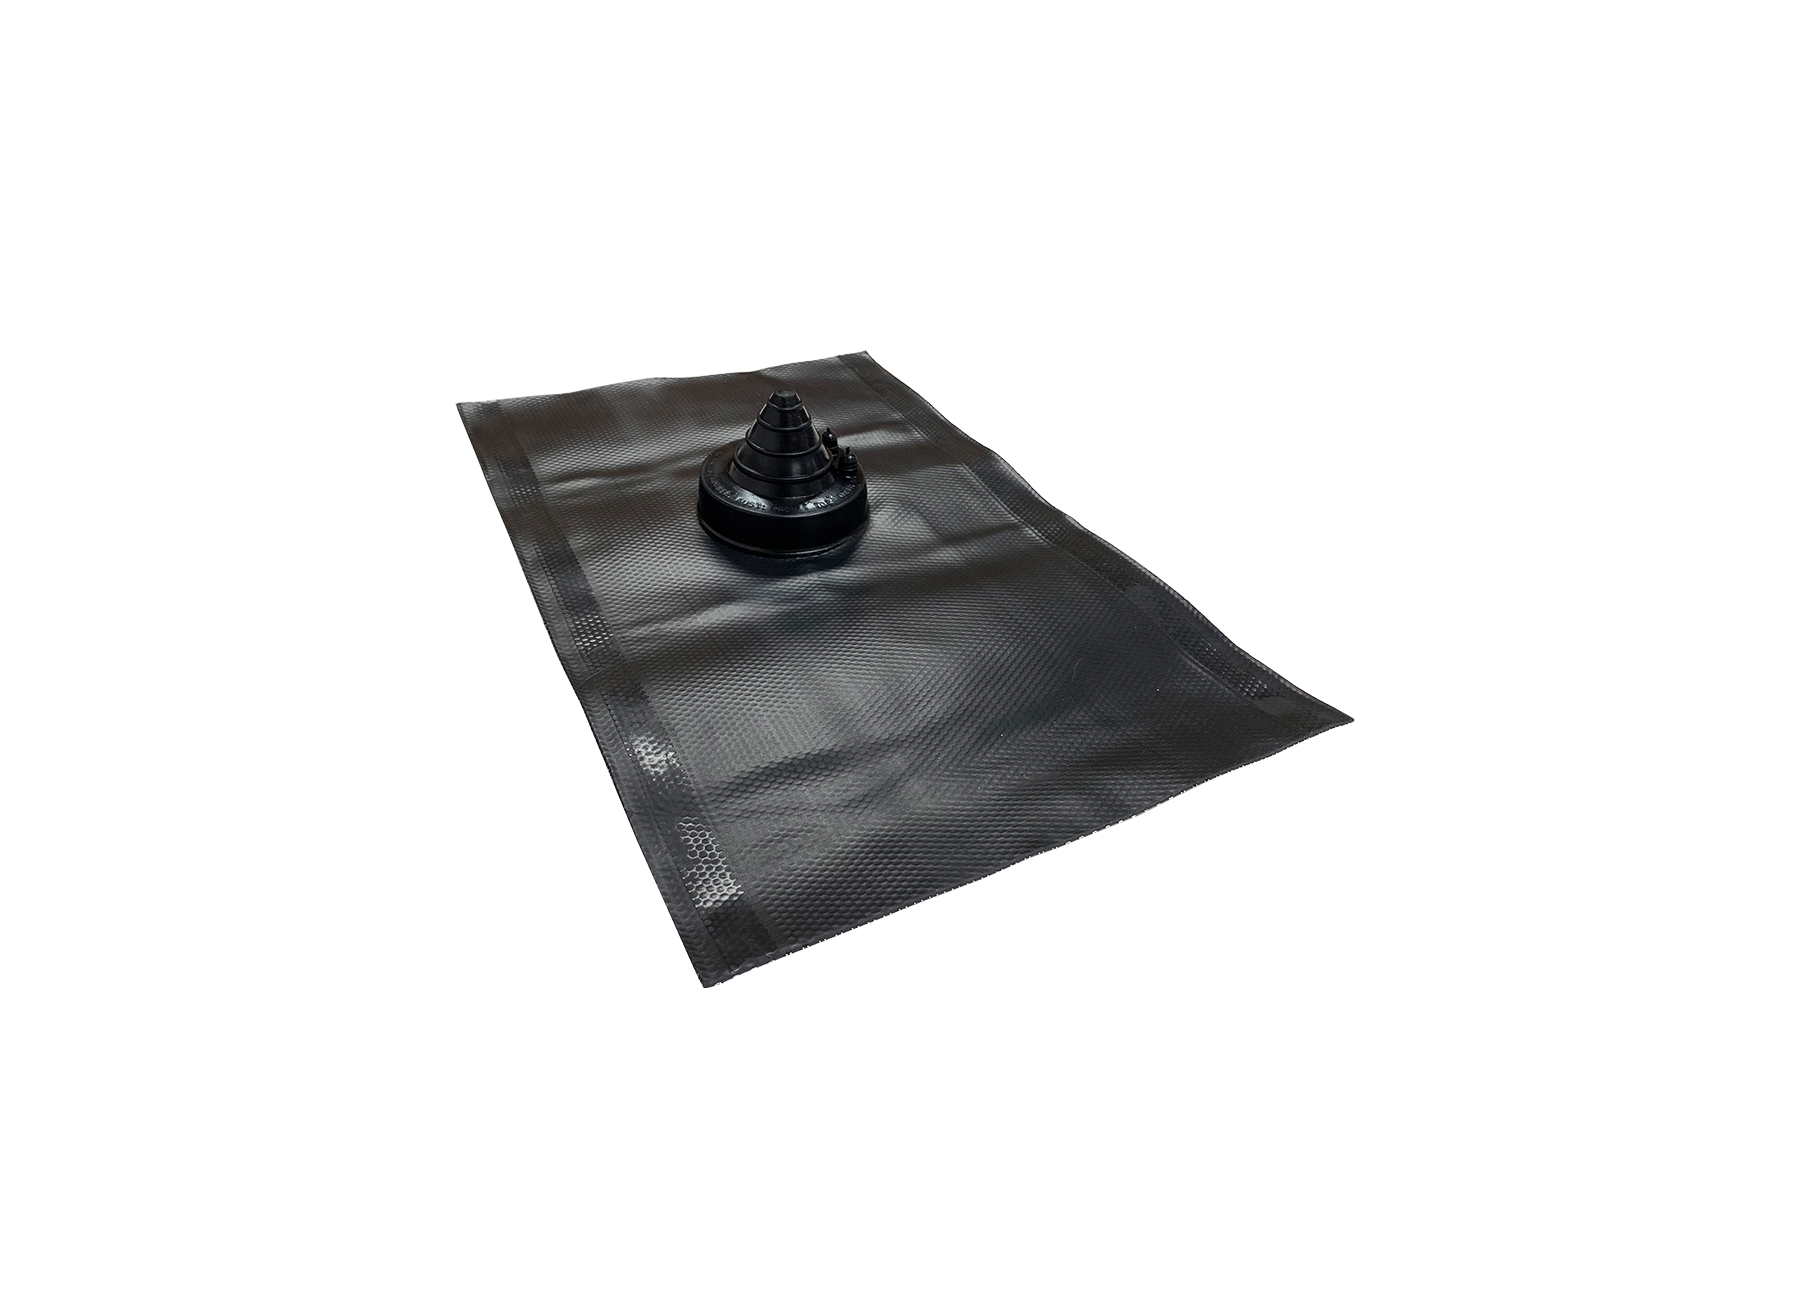
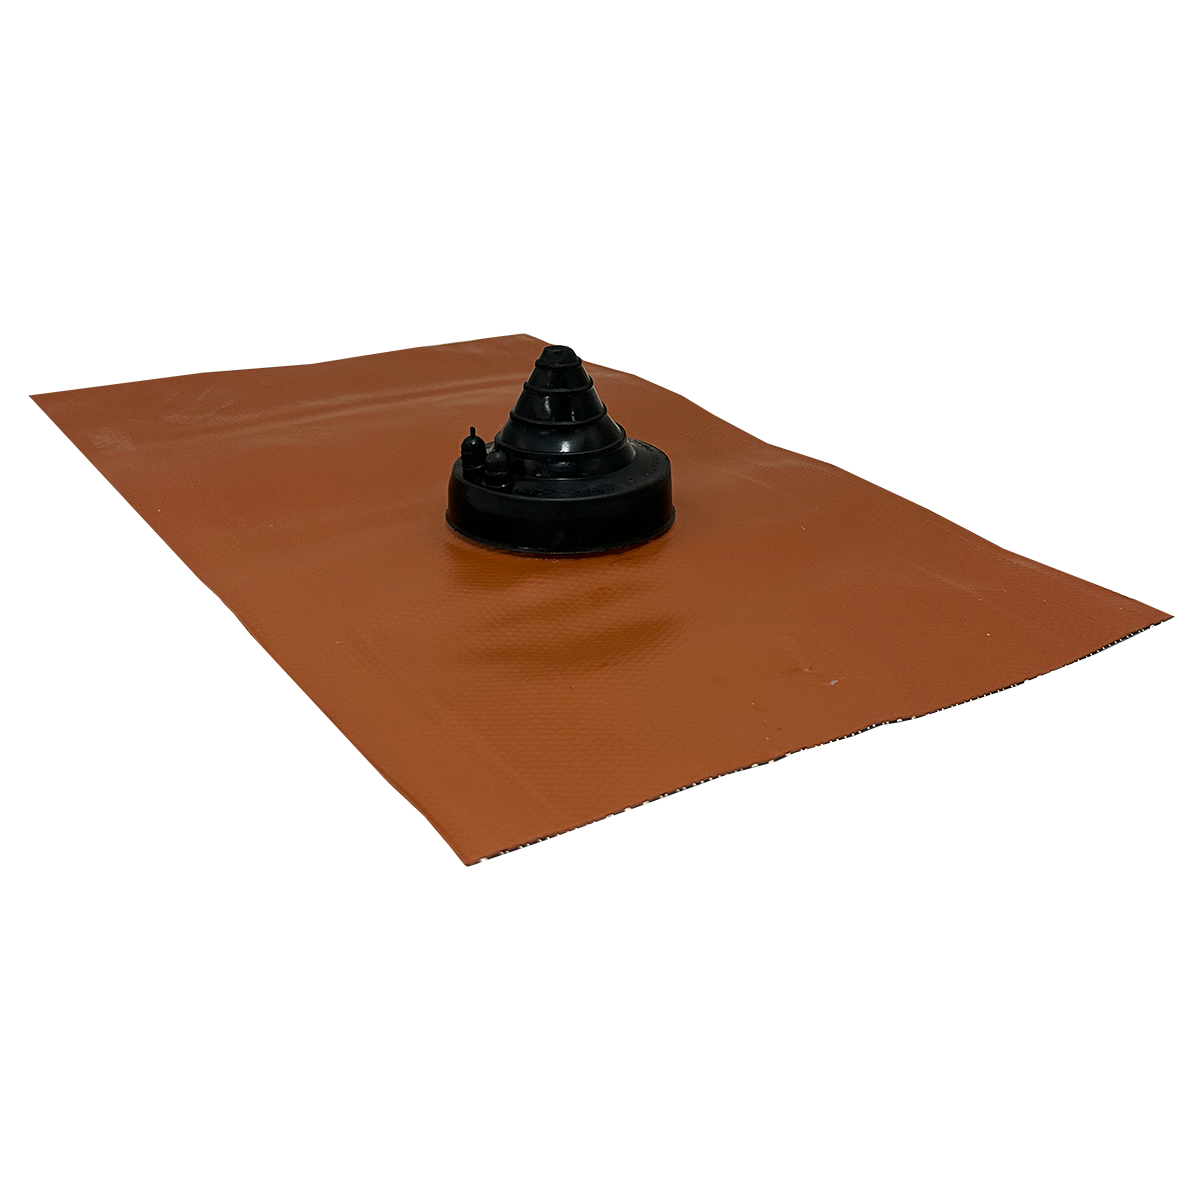
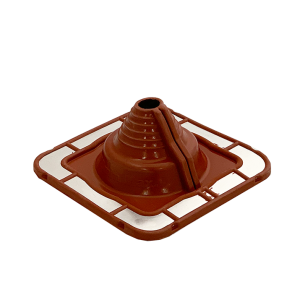
Remove the middle lining from the underside of the flexatile. Cut the rubber cone at least 15mm smaller than the bracket outside diameter with a sharp knife or scissors. Ensure tiles are cleaned before installation. Lubricate the bracket with water and slide the flashing down the bracket. Form an anti-capillary fold at top of base sheet. Remove the protective backing from the underside of the flashing, that is covering the butyl adhesive strips. Hand form the base all around the tile and apply pressure to the butyl adhesive side strip.
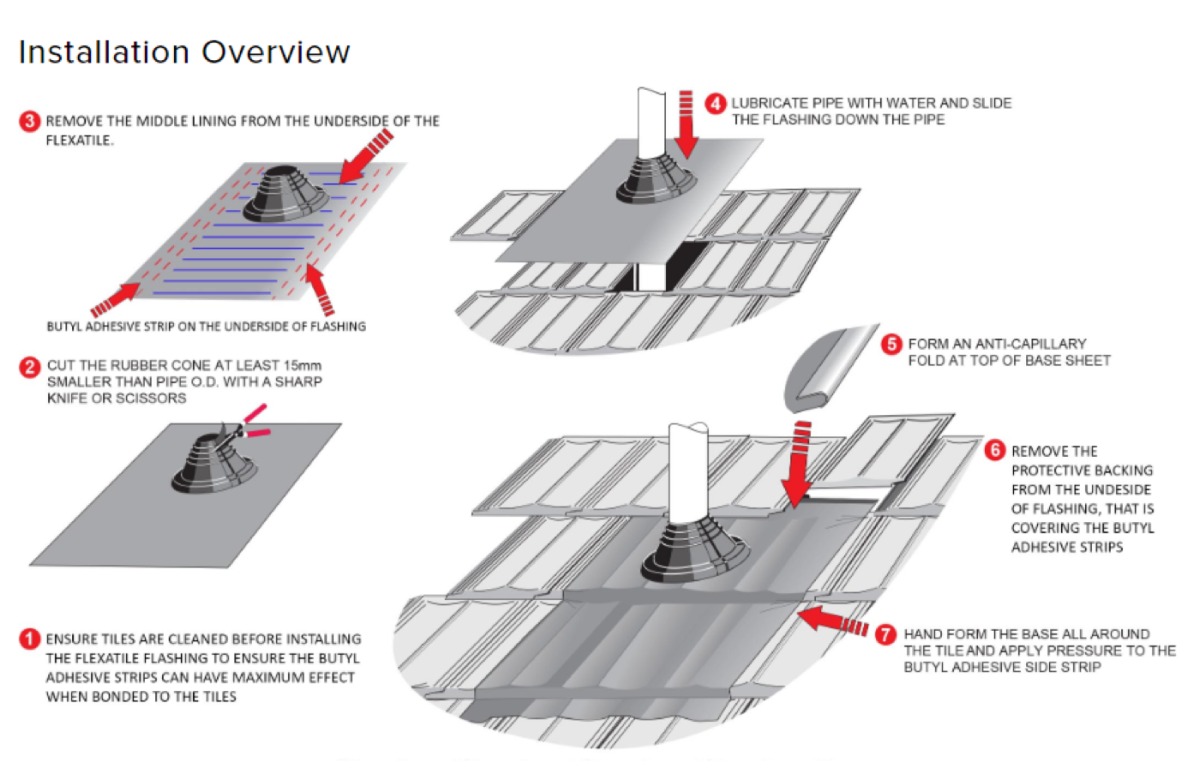
Installation Guide Flexatile
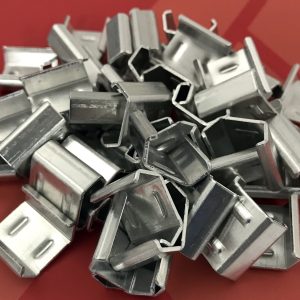
Roof Extenda works with its manufacturers to produce a quality product. Roof Extenda has both electroplated mild steel & 316 marine grade stainless steel brackets available.
The zinc electroplated brackets have a top coating. Roof Extenda cannot provide any guarantees on the lifetime of the brackets and recommends the following:
- Check brackets annually.
- Clean and coat if required with a cold galvanized paint which can be purchased at most hardware stores. This can be easily applied to the exposed surfaces of the brackets.
- If brackets show signs of corrosion they can be replaced by a builder.
If installing Roof Extenda brackets in highly corrosive areas we recommend the home owner considers using Roof Extenda’s 316 marine grade stainless steel brackets. Stainless steel brackets can still show signs of corrosion and should be checked annually.


